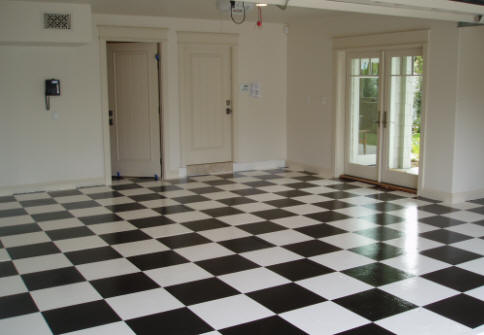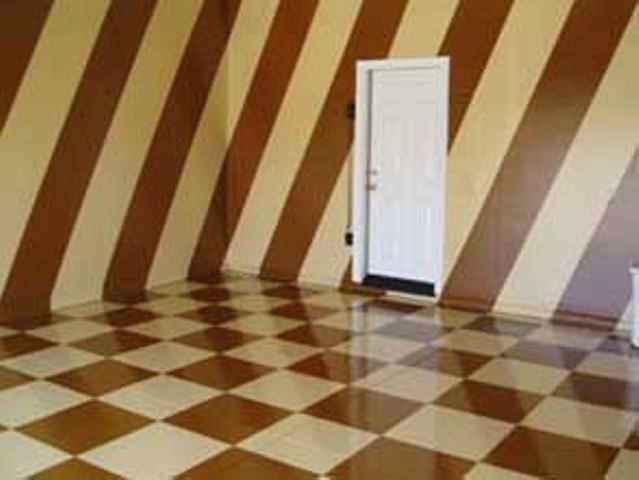

| Why
does a checker board cost so much? First-of-all, there are many layers of epoxy, 5 days of labor and time consuming urethane coating. Once the first layer of epoxy has been laid, the clock starts ticking. With-in a few days, the entire floor has to be completed and top coated with urethane or it is too late. The urethane will not bond to the epoxy correctly and the floor has to be started all over. Day 1: Floor machine and hand prepped, cracks and divots filled and a special slow drying Versatile epoxy primer laid. Day 2: Day to allow a very slow drying Versatile epoxy sink into and bond with the concrete. Day 3: The epoxy is now hard enough to walk on and take out any blemish found on the floor. The entire floor is hand sanded with a special stone to produce as near-perfect floor as possible. A special fast drying epoxy is now laid across the entire floor. The first layer of epoxy will be the lighter of the two colors. As an example, if the checker board is white and black, the first layer will be white. |